"Plarn" (or plastic yarn) is a recycled material made from plastic bags. It can be made from grocery, garbage, bread bags, etc. Just about any kind of plastic will work, however bags with seams (like potato chip bags) tend to break where the seams are. This tutorial will show you how to make plarn using the "spiral-cut" method, which creates one long strip of plarn from each bag. You will aslo see a few different ways to join the strips for a project.

If you already use the "loop" method for joining plarn strips, that's fine. I still do it that way for some projects because it's definitely the faster way to make a lot of material. (I can stack 30 bags at one time and cut them into chunks with my rotary cutter in a few minutes). However, the loop-join can be a bit bumpy once worked up. Some texture may be fine in a basket or rug, but I wanted a super-smooth join for making sleeping mats. The spiral-cut method was my answer, but I still had a small problem...
I was tiring of weaving in so many plarn ends during a project. I remembered reading about the "Russian join" , a method of joining which involves splicing yarn and weaving it into itself. It inspired this idea.
*Note* I have not researched whether or not someone came up with this way of joining plarn before me. I'm not claiming to have invented this method, but if I did, then cool! Enjoy it. And as I already stated, the spiral-cutting method used in this tutorial is absolutely not my invention. Whoever did come up with the idea is awesome.
So without further ado, I give you "spiral-cut plarn joined with a splice".
Click here to see a list of patterns using plarn
Interested in the loop method? Click here
Check out this video for making spiral-cut plarn
Spiral-cut method instructions:
Step 1:
If your bag has handles, cut them and the bottom off as evenly as possible, but don't worry about it being perfect, plarn is forgiving.
If your bag has handles, cut them and the bottom off as evenly as possible, but don't worry about it being perfect, plarn is forgiving.

Do make sure you cut enough of the bottom of so the bag will open fully. One inch (2.5 cm) is usually enough.
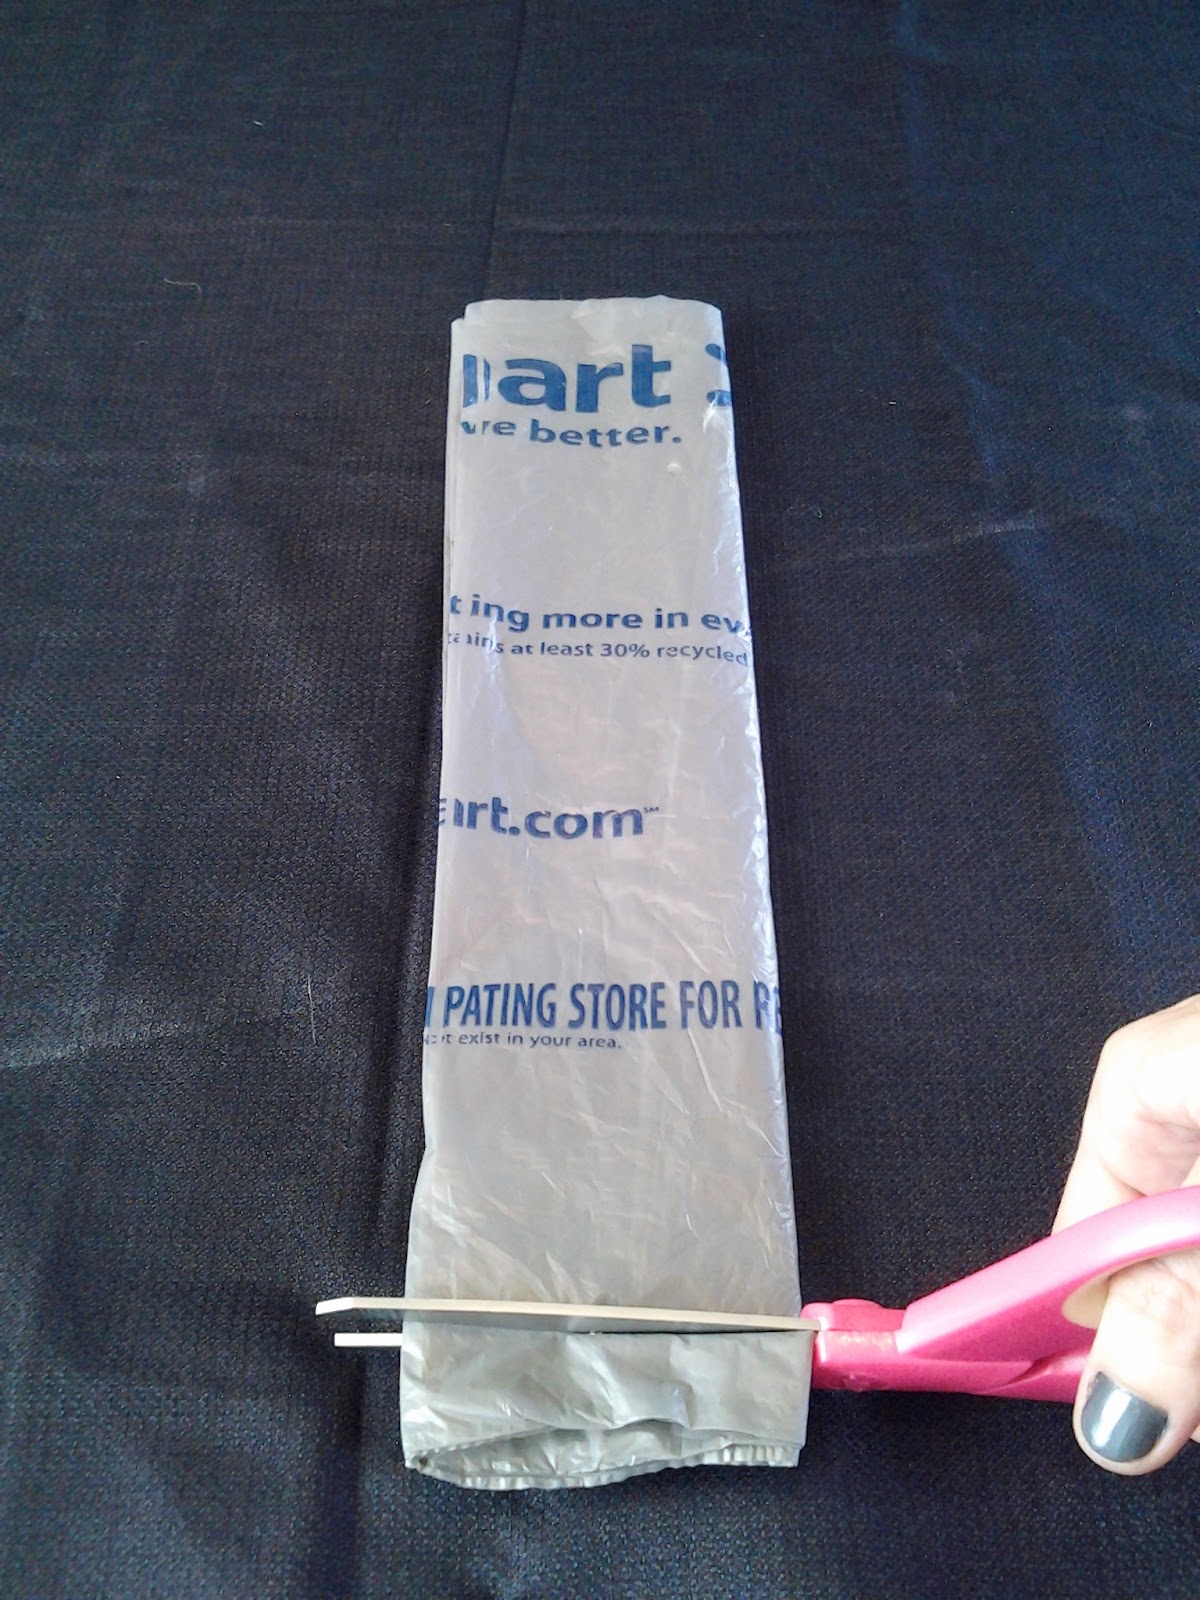
Step 2:
Fold/roll the bag up side to side, leaving about 1 to 2 inches unfolded at the top.

*Plarn-makers often refer to the unfolded piece at the top as the "spine".

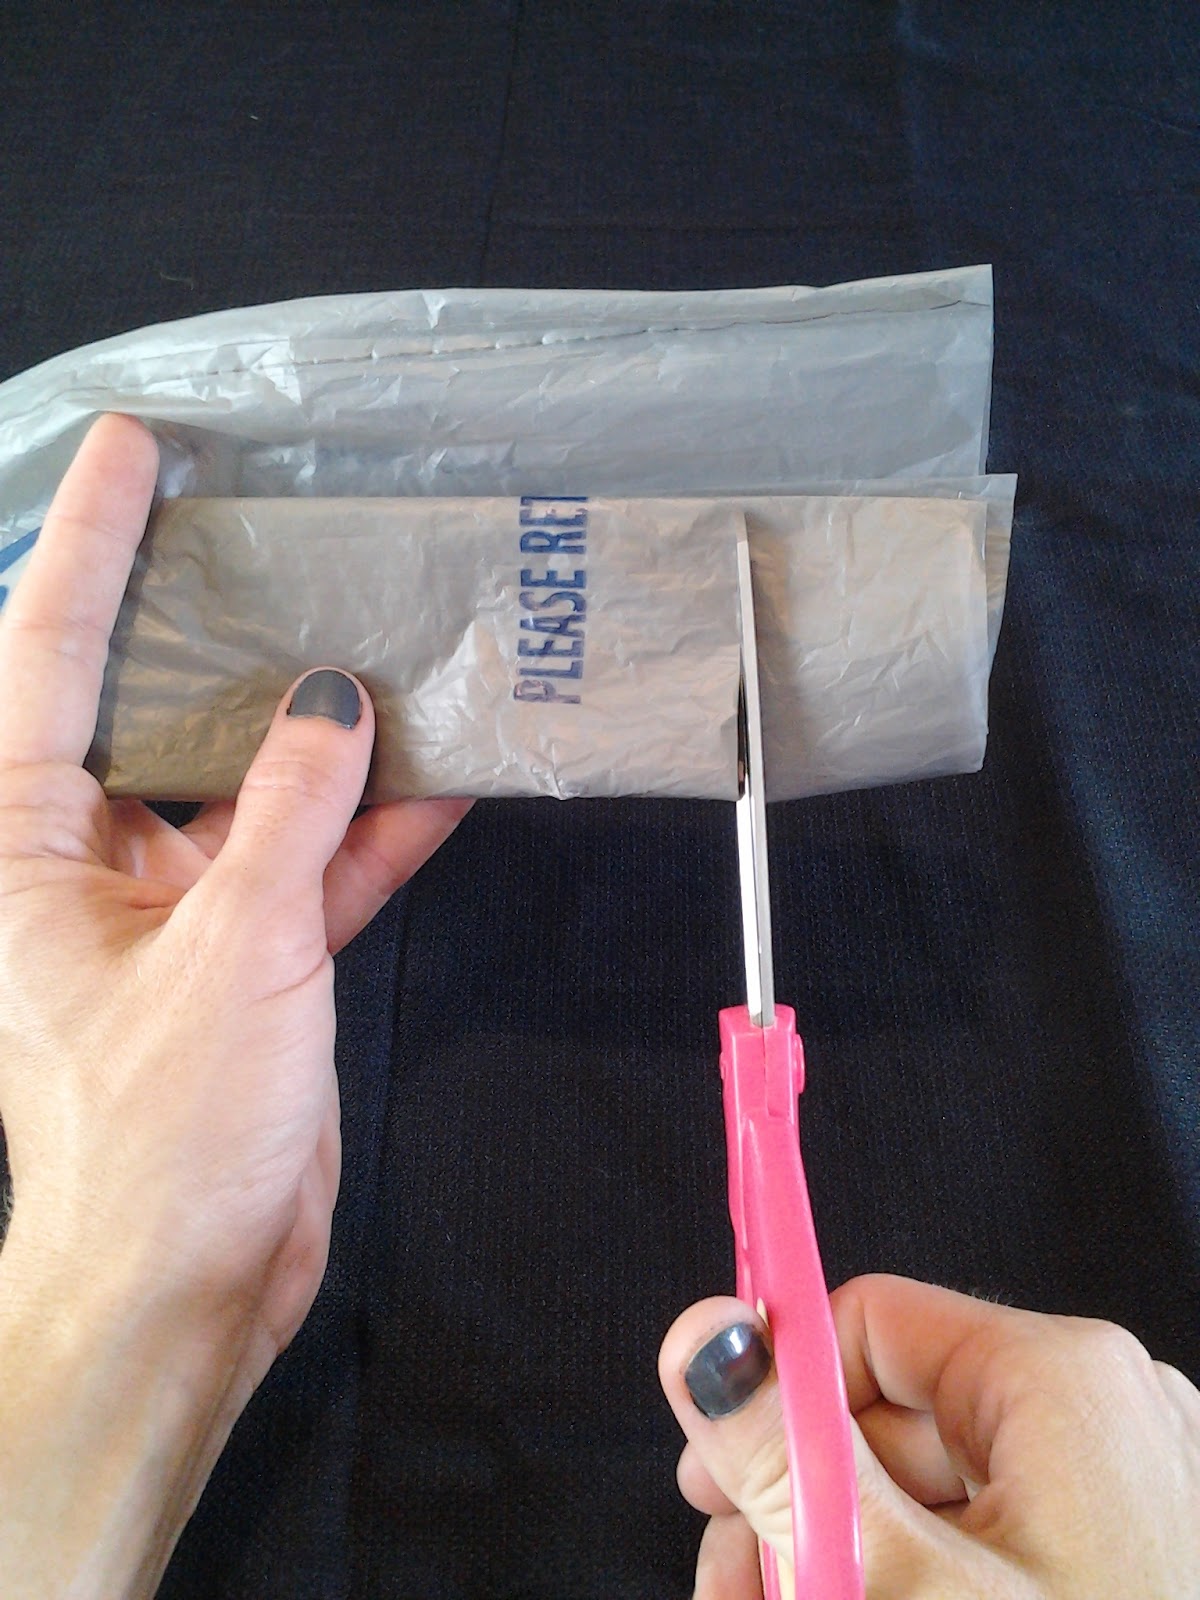
Step 3:
Hold the bag firmly by the fold as you work. Cut into this fold starting 1 to 2 inches from the edge (or whatever width plarn your pattern calls for). Make sure you cut all the way through the folded part, but do not cut into the unfolded "spine" at the top. Continue cutting in this way, keeping strips as evenly spaced as possible.

Step 4:
Open the bag and let the strips unfold. Flatten out the spine and place so that it faces you. It should look like this:

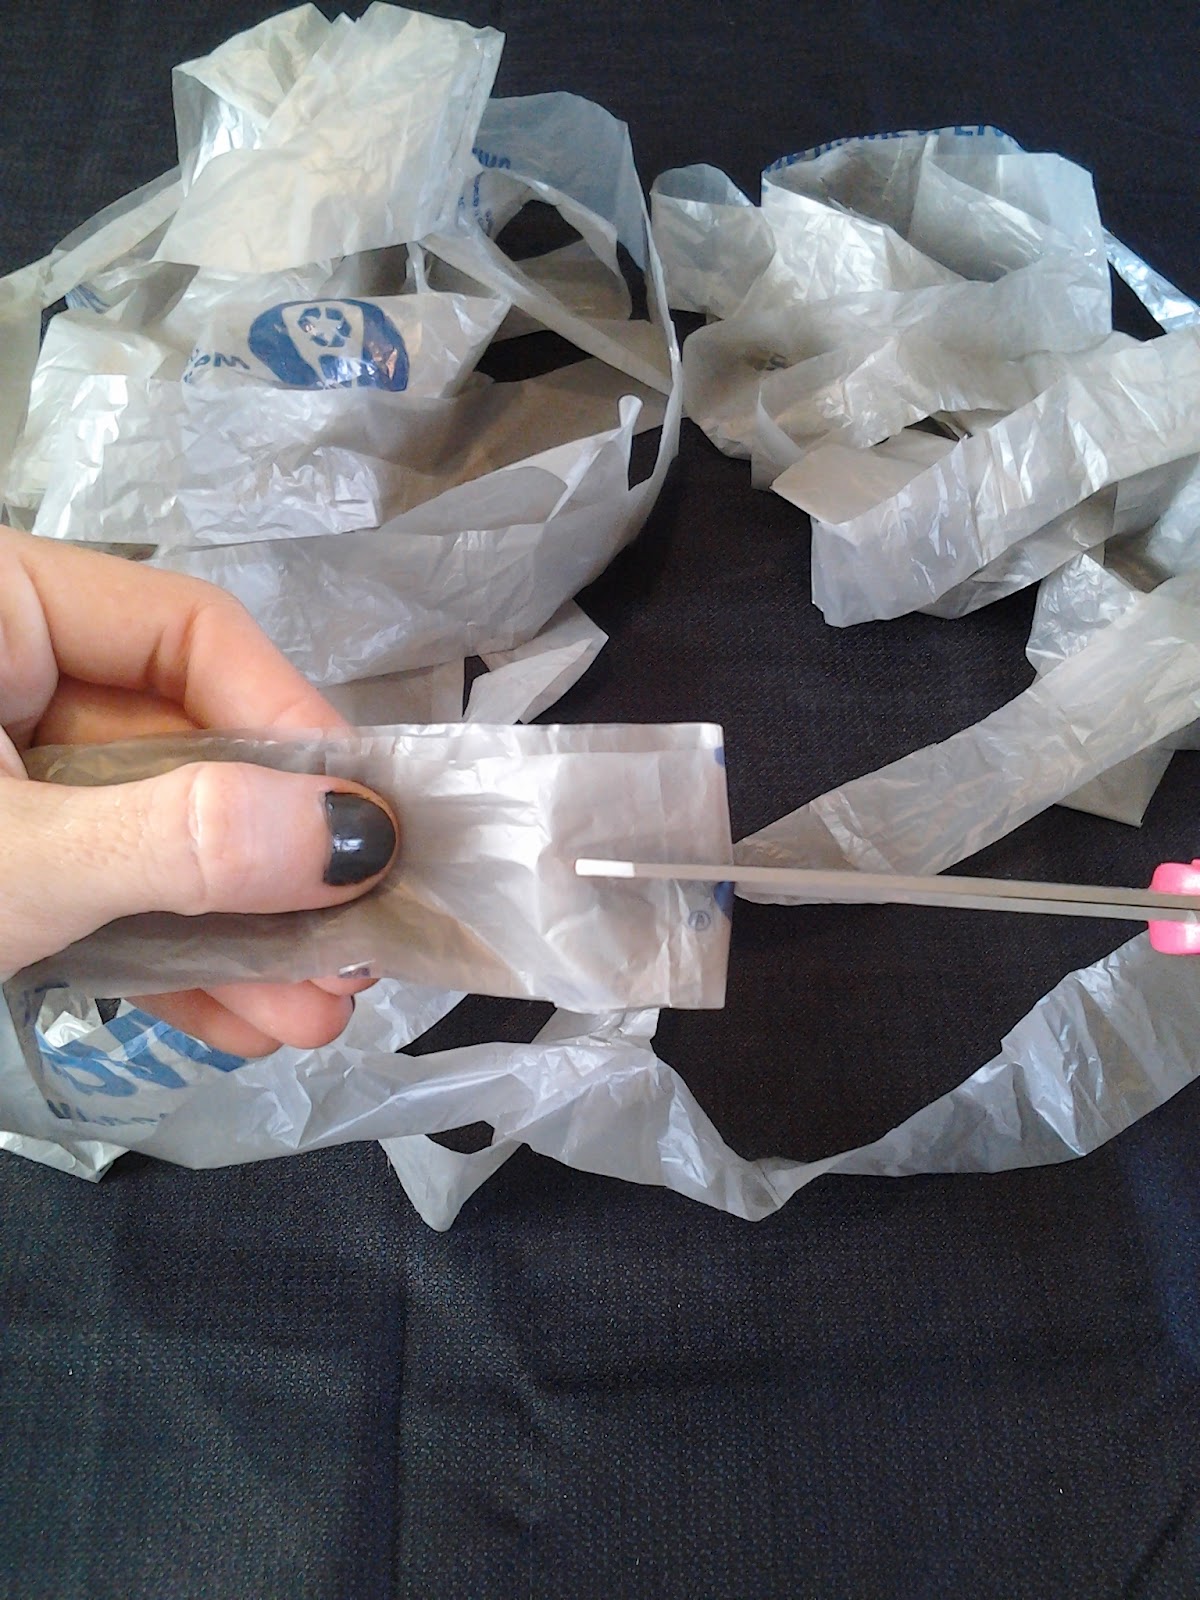
Step 5:
Make your first cut along the top side where the strips meet the spine. You can cut straight across to the next strip, which makes it easier to find the edges if you're new to the method...

But as you become comfortable with how the cuts are made, you can avoid jagged edges by cutting diagonally towards the strip starting from the middle of the spine.
Step 6:
Each cut will now be placed from bottom of the spine to the top; starting on the inside of the strip closest to you (between the strips). Cut towards the inside of the strip above it.

And repeat... Each cut will look the same from here to the end.

When you do get to the end, just cut diagonally through the spine like each cut before. You'll end on the outside of the last strip.

And if all goes correctly, you'll have one continuous strip of plarn made from one bag:

So you have this one long strip with no bumps or knots... But chances are your project will still take more than one grocery bag's worth of plarn! You could weave those ends into a pattern just as you would for yarn, or you can keep reading:

Instructions for joining strips:
Step 1:
Fold the strip over about 2-3 inches (5-7 cm) from the end...

And make a small cut in the middle of the strip. Make sure the cut is large enough for the plarn strip to fit through, but not too big. Too large of a cut weakens the edges of the material and allows room for the plarn to come loose again.
Repeat for the both ends of each strip to be joined.
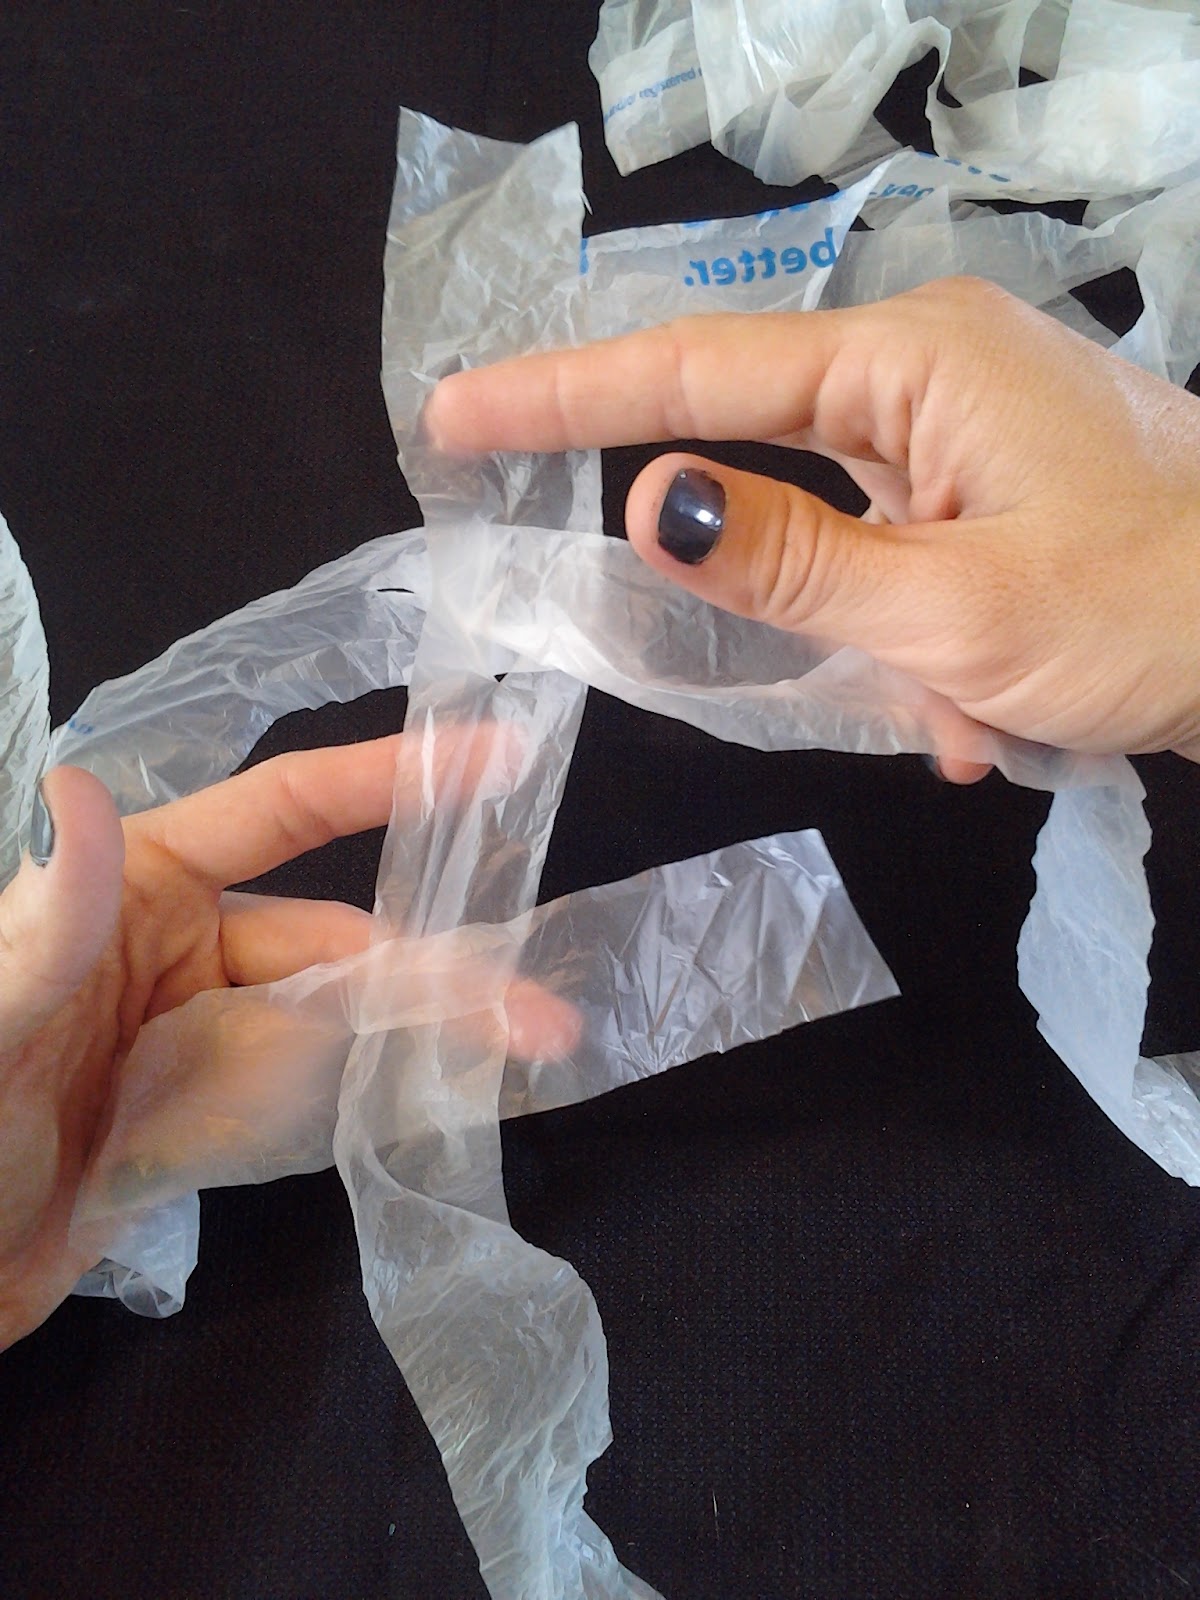
Step 2:
Pull the end of one plarn strip through the cut in another, until the slot in strip "A" is through the slot in strip "B".


Step 3:
Now pull the end of strip "B" through the slot in strip "A".


Step 4:
Gently pull the tails away from each other to settle the join.

The ends (tails) that are left sticking out can be secured as a project is worked up; simply tuck the tail inside of the strip as it reaches your hook.
But then, I had to make it more complicated by including one more method...
This way works, however, it takes a really long time to pull the whole tail through and is not as strong of a join. I have to admit I don't like this method, and I'll show you how it can go very wrong.
Steps 1 - 2
Same as above for cutting the slits in the ends of the strips and inserting the first strip through the next.
Step 3:
With strip "A" inserted in the slot of strip "B"...

Insert the opposite end of strip "B" through the first slot in strip "B".

*This isn't really a step (but, well, maybe...), When someone spontaneously hollers "MOM, I didn't do it!" (or something like it) while you're just beginning to join the strips, it helps to have a clothespin to mark strips "A" from "B". Otherwise, you could be left a little lost when you come back to this:
Step 4:
Keep pulling the end of strip "B" through itself. You will want to hold the securely near the slot as you do this to avoid breaking the strips, and slow down when you near the end of strip "B"...

If you work gently and pay attention, you'll be able to tuck the tail of strip "A" under so it catches inside the join. If it slips out while you tighten this join, you'll just end up with this:

Maybe you can see why I don't care for this last join. When you have 15 feet of plarn to pull through, you get to the end, and then the knot slips or breaks... Ugh.
While playing around with different kinds of bags to use for plarn, I made some with clear produce bags. I tried to work up something like a dream-catcher and even colored parts of it with permanent marker, but the material was too thin and didn't hold its shape very well. I still like the way the sun shines through it when I hang it in the window.

What will you make out of plarn?
Happy Crocheting!
May I use two photos from your Step 6 for a library program on plarn? Thank you for considering this. Kathi
ReplyDeleteThanks for asking, Kathi! I would usually ask for a link back when using photos, but if this is a written project I suppose that would be hard to do... Please do site the source in whatever way you can.
Delete